
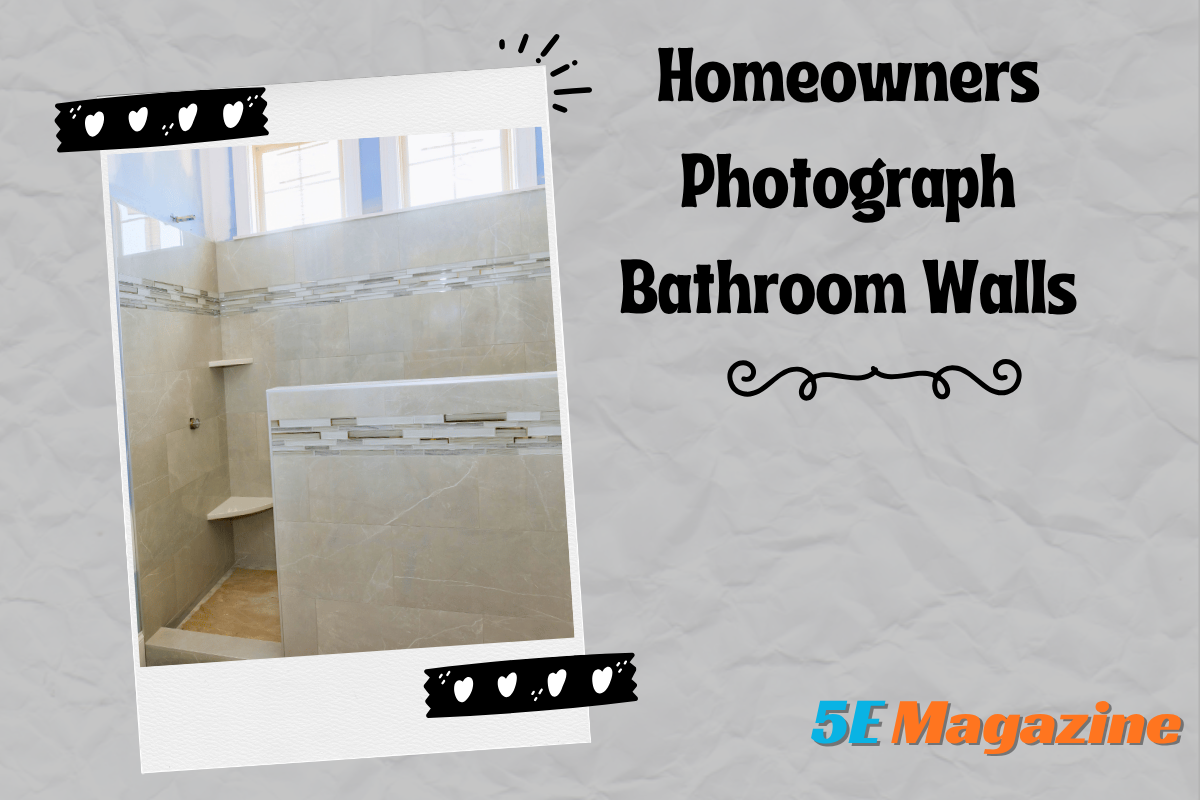
New tile covers the shower walls. Drywall hides the framing. The vanity sits in front of the plumbing. Mirrors and lighting make the room feel complete. Within a few weeks, almost everything that made the bathroom function during construction has disappeared from view.
That is exactly why there is a short period during a remodel when taking a few photographs can be surprisingly valuable.
After rough plumbing, electrical work, framing adjustments, and other in-wall work have been completed, but before those areas are permanently concealed, homeowners have an opportunity to create a visual record of what is behind the finished bathroom.
These photographs are not a substitute for permits, inspections, construction documents, or professional work. They serve a much simpler purpose.
Years later, when someone needs to know what is behind a particular section of wall, there may be something better to work from than a guess.
The Most Useful Photos Aren’t the Finished Ones
Homeowners naturally take plenty of photographs after a bathroom renovation.
Those images are useful for documenting the finished project, remembering product selections, and perhaps showing the transformation to friends.
Construction photographs have a different purpose.
A photo showing exposed studs, pipes, wires, blocking, and plumbing valves is unlikely to end up framed in the hallway.
It may, however, become useful when someone wants to install an accessory five years later.
Finished walls erase useful information.
Once drywall, backer material, tile, and cabinetry are installed, it becomes difficult to determine exactly where many components are located.
A stud finder can help locate framing in some situations. Contractors have other methods for investigating concealed construction.
Still, having a clear photograph of the open wall can make the process much easier.
The key is knowing what to photograph while it is still visible.
Start With Wide Photos of Every Open Wall
Close-up photographs are useful, but begin with context.
Stand far enough away to capture the entire wall whenever possible.
Include recognizable features such as the doorway, window, floor, adjacent wall, or plumbing opening.
Why?
Because a close-up of a pipe between two studs may become surprisingly difficult to locate several years later.
Context makes the photograph useful
Imagine opening an old project folder and finding a photograph showing three studs and a horizontal pipe.
Which bathroom wall is it?
Is the pipe beside the shower or behind the vanity?
How high is it?
Without surrounding reference points, the image may provide little practical information.
A wider photograph answers some of those questions immediately.
Photograph the wall straight on.
Angled photos can distort distances and make locations harder to interpret.
Whenever practical, take a photograph facing the wall directly.
Then take additional close-ups of important details.
This combination,one contextual image plus several detail images,is usually much more useful than dozens of random construction photos.
Photograph the Plumbing Before It Disappears
Bathroom plumbing is one of the most valuable systems to document.
Once walls and floors close, much of it becomes invisible.
The homeowner does not need to identify every pipe or understand exactly how the system works.
The photograph itself preserves information.
Start with the shower valve
Before the shower wall is closed, photograph the valve body and the piping connected to it.
Include enough of the surrounding framing to establish location.
If there are multiple shower components,such as a handheld shower, diverter, additional outlet, or other controls,photograph the complete arrangement.
Why this can matter later
Suppose a shower component eventually needs service or the homeowner wants to modify the system.
Knowing approximately how the plumbing was arranged behind the finished surface can give the person evaluating the work useful context.
It does not eliminate the need for professional diagnosis.
It simply reduces uncertainty.
Photograph vanity plumbing too
The vanity eventually hides much of the wall behind it.
Before installation, photograph the water-supply and drainage locations along with the surrounding framing.
This can be particularly helpful when cabinetry has unusual internal construction or when more than one sink is involved.
Don’t forget the toilet area
Photograph accessible plumbing and floor conditions around the toilet during the appropriate stage of construction.
If the remodel required subfloor repairs around the old toilet, documenting those repairs before new flooring covers them can also be useful.
Document Electrical Locations
Electrical work deserves the same treatment.
Once the wall closes, wiring routes and electrical boxes largely disappear.
Take photographs showing the locations of boxes for vanity lighting, receptacles, switches, and other bathroom electrical components while the wall is accessible.
Include the path, not only the box
A close-up photograph of an electrical box has limited value if there is no indication where it sits on the wall.
Capture surrounding studs and recognizable bathroom features.
Where visible and appropriate, a wider image can also document how wiring reaches the location.
Lighting photos can help explain unusual placement
Bathroom lighting often needs to coordinate closely with mirrors.
If electrical boxes for sconces have been carefully positioned relative to the planned vanity and mirror, photographing them before finishing creates a record of that layout.
This is particularly useful when the finished mirror later covers much of the wall.
Photograph Blocking Behind the Walls
This may be one of the most valuable details to document.
Blocking is additional framing installed between or around studs to provide solid attachment points for fixtures or accessories.
In bathrooms, it can be planned for items such as grab bars, shower accessories, cabinetry, or other wall-mounted components.
Once the wall is finished, that extra support is invisible.
A photograph tells you where the support actually is
Suppose a homeowner wants to install a grab bar several years after the renovation.
They remember that blocking was installed.
But where exactly?
“Somewhere around here” is not very helpful when drilling through finished tile.
A photograph can provide a visual reference.
Add measurements when location really matters
For important blocking, photographs become considerably more useful when paired with simple measurements.
A tape measure held in the photograph can show height from the floor or distance from a corner.
Alternatively, measurements can be written down and stored with the images.
For example:
Shower blocking: approximately 36–42 inches above finished floor on plumbing wall.
The exact documentation method matters less than making it understandable to someone who was not standing in the bathroom during construction.
Take Photos Before the Shower Is Covered
The shower deserves more documentation than almost any other part of the bathroom because so much critical construction eventually disappears beneath the finished surfaces.
Homeowners see tile.
The performance of the shower depends on what exists behind it.
Photograph the shower at more than one stage
If practical, useful documentation may include the exposed framing and plumbing before wall preparation, followed by photographs of the shower construction before tile installation.
The purpose is not to create a step-by-step DIY manual.
It is to maintain a record of how the renovated bathroom was assembled.
Photograph niches and benches
Shower niches and benches can contain framing and waterproofing details that become completely concealed after tile.
Photographing their location and construction can be useful for future reference.
The same applies to other built-in shower features.
Document Any Repairs Discovered During Demolition
Renovations do not always proceed exactly as expected.
Removing an old tub might reveal damaged subflooring. Opening a wall could expose evidence of a previous leak. Old framing may require repair before new work continues.
When something significant is discovered and corrected, take photographs both before and after the repair.
The before photo explains why the work happened
Several years later, an invoice line reading “subfloor repair” may not mean much.
A photograph showing the actual deterioration provides context.
The after photo records what replaced it
Once the repair has been completed, photograph the corrected area before it is covered.
Together, those images create a simple construction history:
This was the condition we found. This was the area after it was addressed.
That can be much more informative than a finished photograph showing brand-new tile over the same location.
Photograph the Floor Before New Finishes Cover It
Bathroom floors can contain important information.
Subfloor repairs, plumbing penetrations, leveling work, and transitions may all disappear beneath the finished floor assembly.
If substantial work was required, photograph it.
Pay particular attention to repaired areas
If only one section of subfloor was replaced, capture a photograph showing where the new section meets the existing material.
If previous damage was found around a toilet or shower, document the repaired condition.
These photographs may never be needed.
That is fine.
Their value comes from being available if a future question arises.
Exterior Walls Deserve Their Own Photos
In Massachusetts and New Hampshire bathrooms, exterior walls can be particularly interesting because they may contain insulation, windows, plumbing, or evidence of previous construction changes.
If an exterior wall is opened during renovation, photograph its condition before it is closed.
Insulation becomes invisible immediately
Once wallboard is installed, there is no simple way to see how an opened section was insulated without disturbing the finished wall.
A photograph provides a basic record.
This is especially useful in an older New England home where different parts of the house may have been renovated at different times.
Photograph plumbing near exterior walls
If plumbing is located in or near an exterior wall, document the arrangement.
Cold-weather conditions make the relationship between plumbing and exterior construction more important than it might appear from the finished bathroom.
Again, the homeowner does not need to interpret the installation.
The goal is simply to preserve the information while it is visible.
Don’t Forget the Bathroom Exhaust Duct
The exhaust fan grille may be the only part of the ventilation system homeowners see after construction.
The duct route above it can be much harder to investigate later.
If bathroom remodeling includes a new or modified exhaust route and that ductwork is accessible during construction, take a photograph before the ceiling or wall is closed.
Show where the duct goes
A photograph of the fan housing alone provides limited information.
If possible, capture enough context to show the direction of the duct and how it leaves the immediate bathroom area.
This can become useful if ventilation performance is ever investigated later.
For New England bathrooms, where mechanical ventilation becomes especially important during months when opening a window is impractical, documenting the system is worthwhile.
Measurements Make Photos More Valuable
Construction photographs can show what is behind a wall.
They are less reliable at showing exact distance.
Perspective can make an object appear closer to a corner than it actually is.
That is why measurements can improve the record significantly.
Use permanent reference points
Measure from features that will still exist after the renovation.
Good reference points might include:
- the finished floor;
- a doorway;
- an inside wall corner;
- a window opening;
- or another fixed architectural feature.
Avoid relying on temporary objects that disappear during construction.
Put the tape measure in the photograph.
One easy method is to hold a tape measure beside the area being documented.
For important blocking, pipe locations, or other concealed features, this provides both visual context and approximate dimensions in a single image.
A second photograph can show horizontal distance from a nearby corner.
You do not need to document every stud in the bathroom this way.
Reserve detailed measurements for locations likely to matter later.
Organize the Photos Before You Forget What They Show
Taking 80 construction photos and leaving them mixed with vacation pictures on a phone defeats much of the purpose.
Organization can be extremely simple.
Create a folder named something like:
Primary Bathroom Remodel, 2026
Then divide photographs by category or stage if there are enough of them.
For example:
Before Demolition
Open Walls
Plumbing & Electrical
Shower Construction
Repairs
Before Walls Closed
Finished Bathroom
Rename the most important images
A filename such as IMG_4837.jpg communicates nothing.
For important photographs, names like these are much more useful:
shower-plumbing-wall.jpg
vanity-plumbing.jpg
grab-bar-blocking-shower-wall.jpg
repaired-subfloor-toilet.jpg
exhaust-duct-ceiling.jpg
You do not need to rename every photograph.
Focus on the ones someone might realistically need in the future.
What Not to Rely on Construction Photos For
Photographs are useful records.
They are not engineering drawings, inspection reports, warranties, permits, or proof that every concealed component complies with applicable requirements.
A photo can also be misleading if the construction changed after it was taken.
Treat them as supporting information
If future work requires drilling into a wall, modifying plumbing, changing electrical systems, or making structural alterations, the contractor still needs to evaluate conditions appropriately.
The photograph gives that person additional information.
It should not encourage someone to make assumptions about concealed construction without proper verification.
Keep important project documents too
If the renovation includes permits, inspection documentation, product information, warranties, contracts, change orders, or other relevant records, store those with the project files.
Together, documentation and photographs create a much more complete history of the renovation.
When Should the Homeowner Take These Photos?
There is no single perfect moment because different systems are exposed at different stages.
The best approach is to take photographs whenever an important condition is about to disappear.
That might happen after plumbing rough-in.
Another set may be useful after electrical work.
Repairs discovered during demolition should be documented when they occur.
Shower construction may justify its own photographs before tile.
Ask the contractor before entering an active work area
Homeowners should not walk through an active construction site simply to take pictures.
Tools, open floors, exposed electrical work, debris, and unfinished surfaces can create hazards.
Ask when it is safe and convenient to photograph the room.
In many cases, the contractor may already be documenting parts of the project.
For All Work Construction, documenting important concealed conditions can also help communicate what was discovered and what changed during a bathroom renovation, particularly when an older Massachusetts or New Hampshire home reveals unexpected conditions after demolition.
The 10 Photos Worth Having
If a homeowner does not want hundreds of construction photographs, a relatively small set can still capture the most useful information.
Prioritize:
- A full straight-on photograph of each open wall.
- Shower valve and related plumbing.
- Vanity supply and drain locations.
- Toilet area and accessible floor conditions.
- Vanity lighting, receptacle, and switch locations.
- Blocking is installed for future wall-mounted accessories.
- Shower construction before finished tile.
- Any hidden damage discovered during demolition.
- The completed repair before it is covered.
- Ventilation ductwork or other significant concealed construction modified during the remodel.
For especially important concealed features, add measurements.
That is enough to create a useful visual map without turning the homeowner into the project’s full-time photographer.
Take the Photograph Before You Need It
Most construction photographs will probably never be opened again.
That does not make taking them unnecessary.
The value of the photograph appears years later, when someone asks a question that was easy to answer while the wall was open and difficult to answer after it was closed.
Where was the blocking installed?
What was repaired beneath this floor?
Which direction does that pipe run?
What did the shower plumbing look like before tile?
Where does the exhaust duct go?
During construction, answering those questions can take seconds.
After the bathroom is complete, answering them may require investigation.
A few organized photographs preserve a small amount of information at exactly the moment when it is easiest to capture.
The finished bathroom is worth photographing because you want to remember how it looks. The unfinished bathroom is worth photographing because someday you may need to remember how it was built.
