

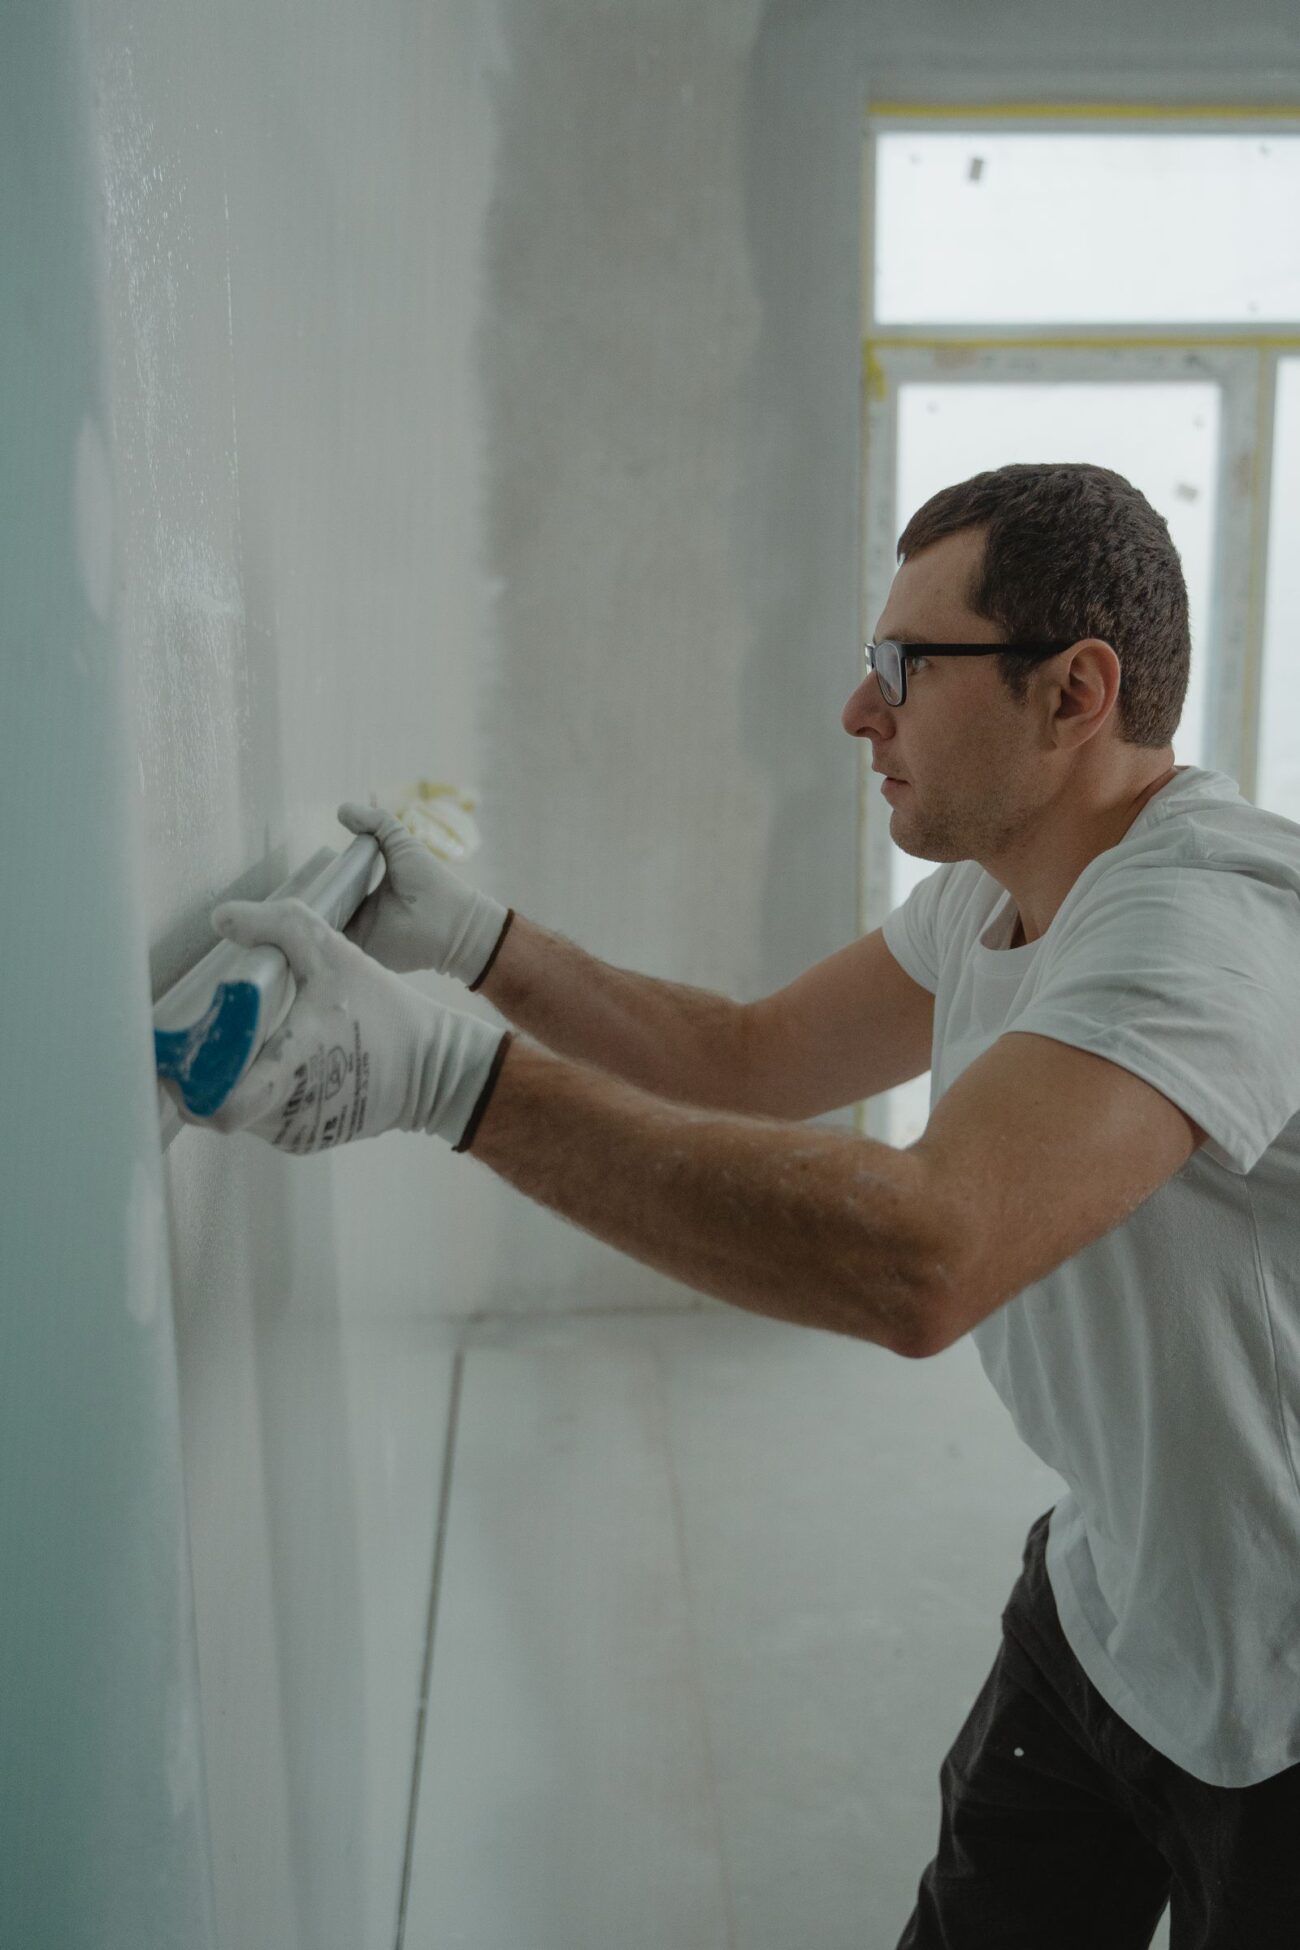
Patching drywall is one of the most useful DIY skills a homeowner can learn. Walls get damaged in ordinary life: a doorknob punches through, a picture hook leaves a hole, or a nail pops out after a season of temperature changes. Most damage is fixable with a few hours of hands-on work, and the repair can be made invisible if you match the method to the size of the hole and let each coat of compound dry fully. A nail hole takes about ten minutes of actual work, a medium hole takes an afternoon, and a large hole takes a weekend, mostly because of drying time between coats.
Key Takeaways
- Match the method to the hole: spackle under half an inch, a patch up to 6 inches, new drywall with backing above that.
- Thin coats beat thick ones: two or three thin coats, each dried fully, give a flatter finish.
- Joint compound needs roughly 24 hours per coat; cold or humid rooms take longer.
- Always prime before painting, or the patch shows as a dull spot.
- Check for wires and pipes before cutting; call a pro for water, mold, or wiring damage.
How To Tell What Size Hole You Are Dealing With
Measure the damage first, because its size decides the repair. Small holes are under half an inch across: nail and screw holes, small anchor holes, and dents from picture hooks. These need no patch, just filler. Medium holes run from about half an inch to 6 inches across: doorknob holes, fist-sized dents, and holes left by removed fixtures. Compound alone will crack and fall through, so they need a patch that bridges the gap. Large holes are over 6 inches and need a new piece of drywall screwed to solid backing inside the wall. Trim crumbly paper back to solid material first; soft or discolored drywall may mean a water leak, which needs fixing first or the patch will fail again.
Tools And Materials You Will Need
Gather everything before you start so wet compound is never waiting on a missing tool.
- Putty knife (1.5-inch), taping knives (6-inch and 10- or 12-inch), utility knife, drywall saw
- Sanding sponge or 120- and 220-grit sandpaper, sanding block
- Drill/driver, 1-1/4-inch drywall screws, tape measure, pencil, straightedge
- Drop cloth, painter’s tape, dust mask, safety glasses
- Spackle for small holes, ready-mixed all-purpose joint compound for larger repairs
- Self-adhesive mesh or metal patch, drywall to match wall thickness (usually 1/2 inch), joint tape, 1×2 wood scrap
- Primer, matching paint, small roller, brush
Setting-type compound (hot mud) hardens by chemical reaction in a stated time, commonly 20, 45, or 90 minutes, suiting same-day repairs — but it is harder to sand, so beginners do better with ready-mixed compound.
Before You Start: Prep And Safety
Clear the area, lay a drop cloth, and move furniture away; sanding dust gets everywhere and wet compound drips. If the repair is part of a bigger tidy-up, our guide on how to declutter your home fast can help you clear the room first. Before cutting, check behind the wall with a stud finder with AC detection, cut slowly and shallowly, and stop if you feel resistance that is not drywall. If unsure, turn off the circuit at the breaker. Wear a dust mask and safety glasses, and keep the room ventilated.
How To Patch Small Holes And Nail Pops
Small holes are the easiest repair, and spackle is the right filler because it shrinks less than joint compound in shallow holes, as contractor Tom Silva notes. Scrape away loose material and wipe off dust with a barely damp cloth. Press spackle into the hole with a 1.5-inch putty knife, slightly overfilling, then scrape flat to leave a thin skim. Let it dry, usually one to two hours, then sand lightly with 220-grit sandpaper until flush. If it shrank, add a second thin coat, dry, and sand again. For a nail pop, push the drywall tight against the stud, drive a drywall screw 1.5 inches above and below the popped nail, drive the old nail in or pull it out, dimple both fasteners below the surface, and cover with two thin coats.
How To Patch Medium Holes With A Self-Adhesive Patch
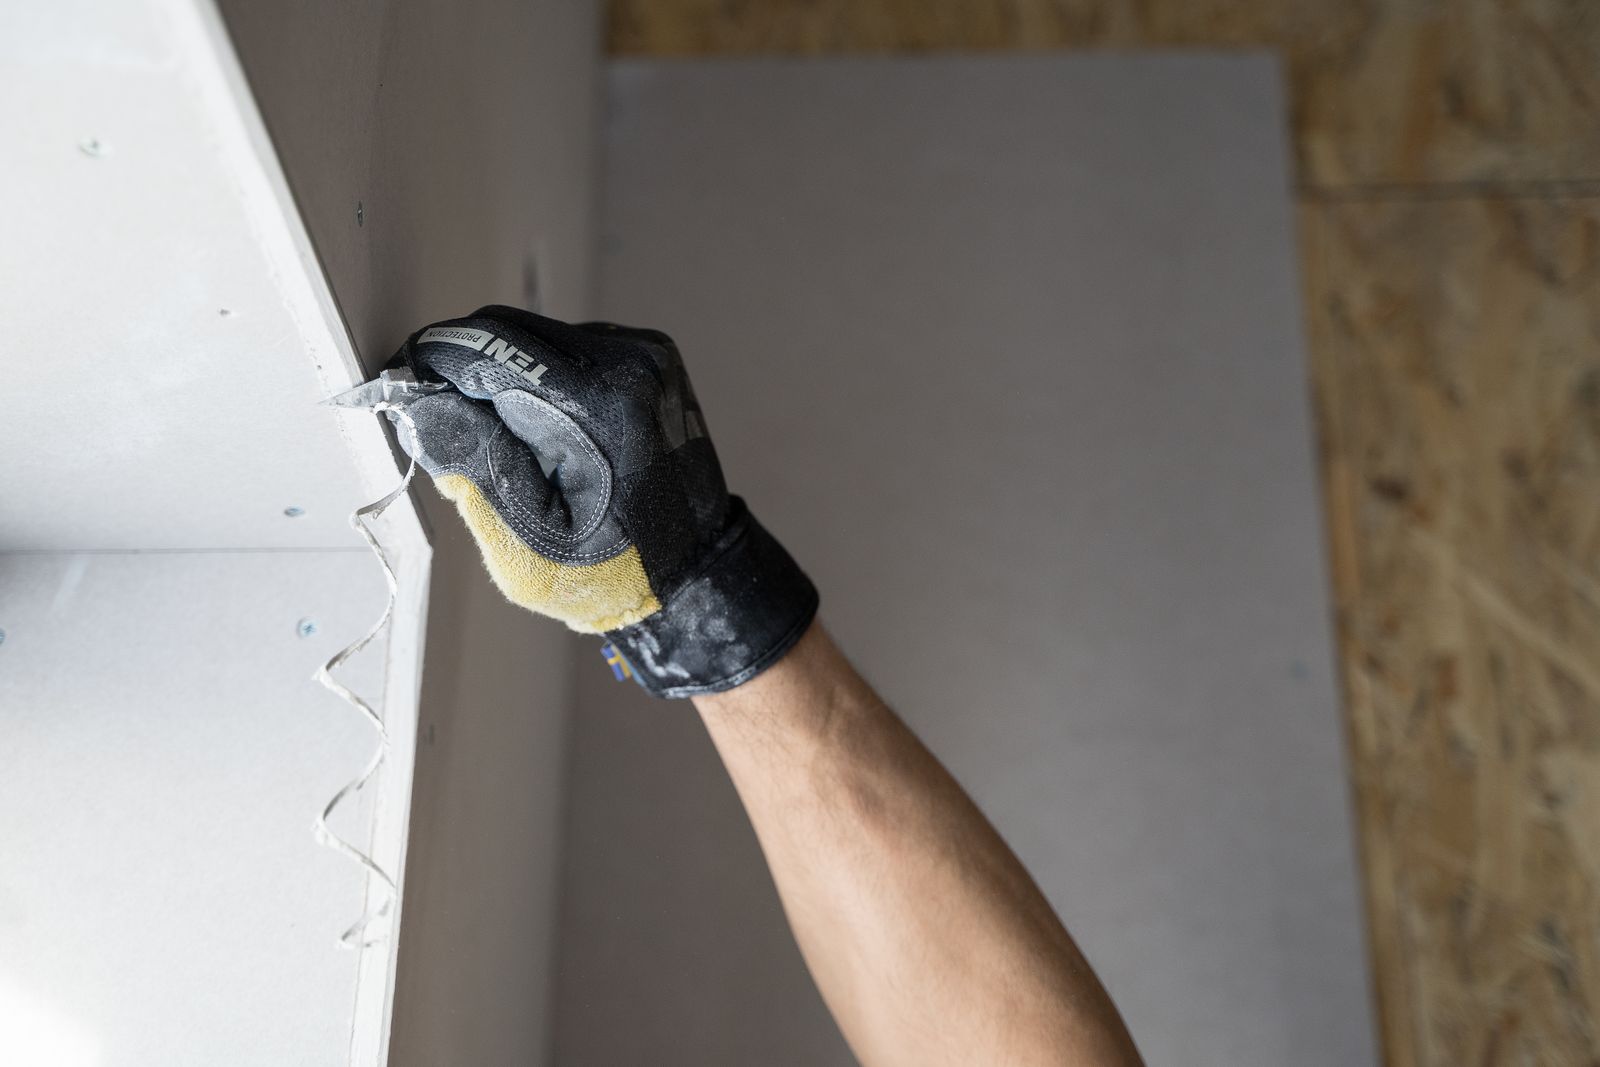
For holes between half an inch and 6 inches, use a self-adhesive patch kit: a fiberglass mesh or thin metal plate with adhesive backing, sold at any hardware store. Trim loose paper, sand rough edges, and wipe off dust so the patch sticks. Press the patch firmly over the hole, overlapping solid drywall by at least an inch on every side. Spread a thin coat of joint compound over the patch with a 6-inch taping knife, pressing it through the mesh and feathering the edges outward. Do not hide the patch in one coat; a thick coat cracks and leaves a bulge. Let the first coat dry, roughly 24 hours, then sand lightly and apply a second, wider coat with a 10- or 12-inch knife. A third thin coat, feathered wider still, makes the patch disappear. This Old House’s guide to patching drywall shows Tom Silva using the same techniques on small, medium, and large holes.
How To Patch Large Holes With A New Piece Of Drywall
A hole over 6 inches needs a real piece of drywall; no adhesive patch can span it. First, square off the damaged area for clean, straight edges.
The California Patch Method
The California patch (also called a butterfly patch) suits holes up to roughly 12 inches and needs no wood backing. Cut scrap drywall 2 to 3 inches larger than the hole. Lay it face down, score the back paper an inch in from each edge, snap the gypsum, and peel it away, leaving the front paper as a flange. Trace the center onto the wall and cut it out with a drywall saw. Spread compound around the opening, press the patch in so the flange sits flat, and wipe away excess. Once dry, apply two or three thin coats, feathering each wider, sanding between coats. Drywall Insider describes this method step by step.
The Wood Backing Method
For larger repairs, wood backing is strongest. Cut two pieces of 1×2 or 1×3 wood a few inches longer than the hole is tall. Hold the first strip inside the hole and screw through the existing drywall into each end; repeat with the second strip. Cut a patch to fit, screw it to the wood strips, sinking each screw just below the surface without tearing the paper. Tape the seams, cover every screw head, and build up two or three thin coats, feathering each wider. It takes longer, but the result is as solid as the original wall.
How To Sand And Finish The Patch So It Disappears
Sanding is where a patch becomes invisible — and where beginners most often go wrong by sanding too hard. Wait until the compound is fully dry: wet compound is darker and turns uniformly pale when dry. Sand lightly in circular motions with a fine-grit sponge or 120-grit paper, then finish with 220-grit. A damp sponge keeps dust down, but do not soak the patch; wet compound softens. Feel the repair with your eyes closed; fingertips find ridges eyes miss. Shine a work light at a low angle to reveal bumps, spot-fill low areas, and sand again once dry. Wipe off dust with a barely damp cloth and let it dry before priming. Sanding dust spreads quickly, so clean the room once the patch is smooth; if the repair is in the kitchen, our start-to-finish deep clean kitchen plan covers dust on cabinets, counters, and appliances.
How To Paint Over A Drywall Patch
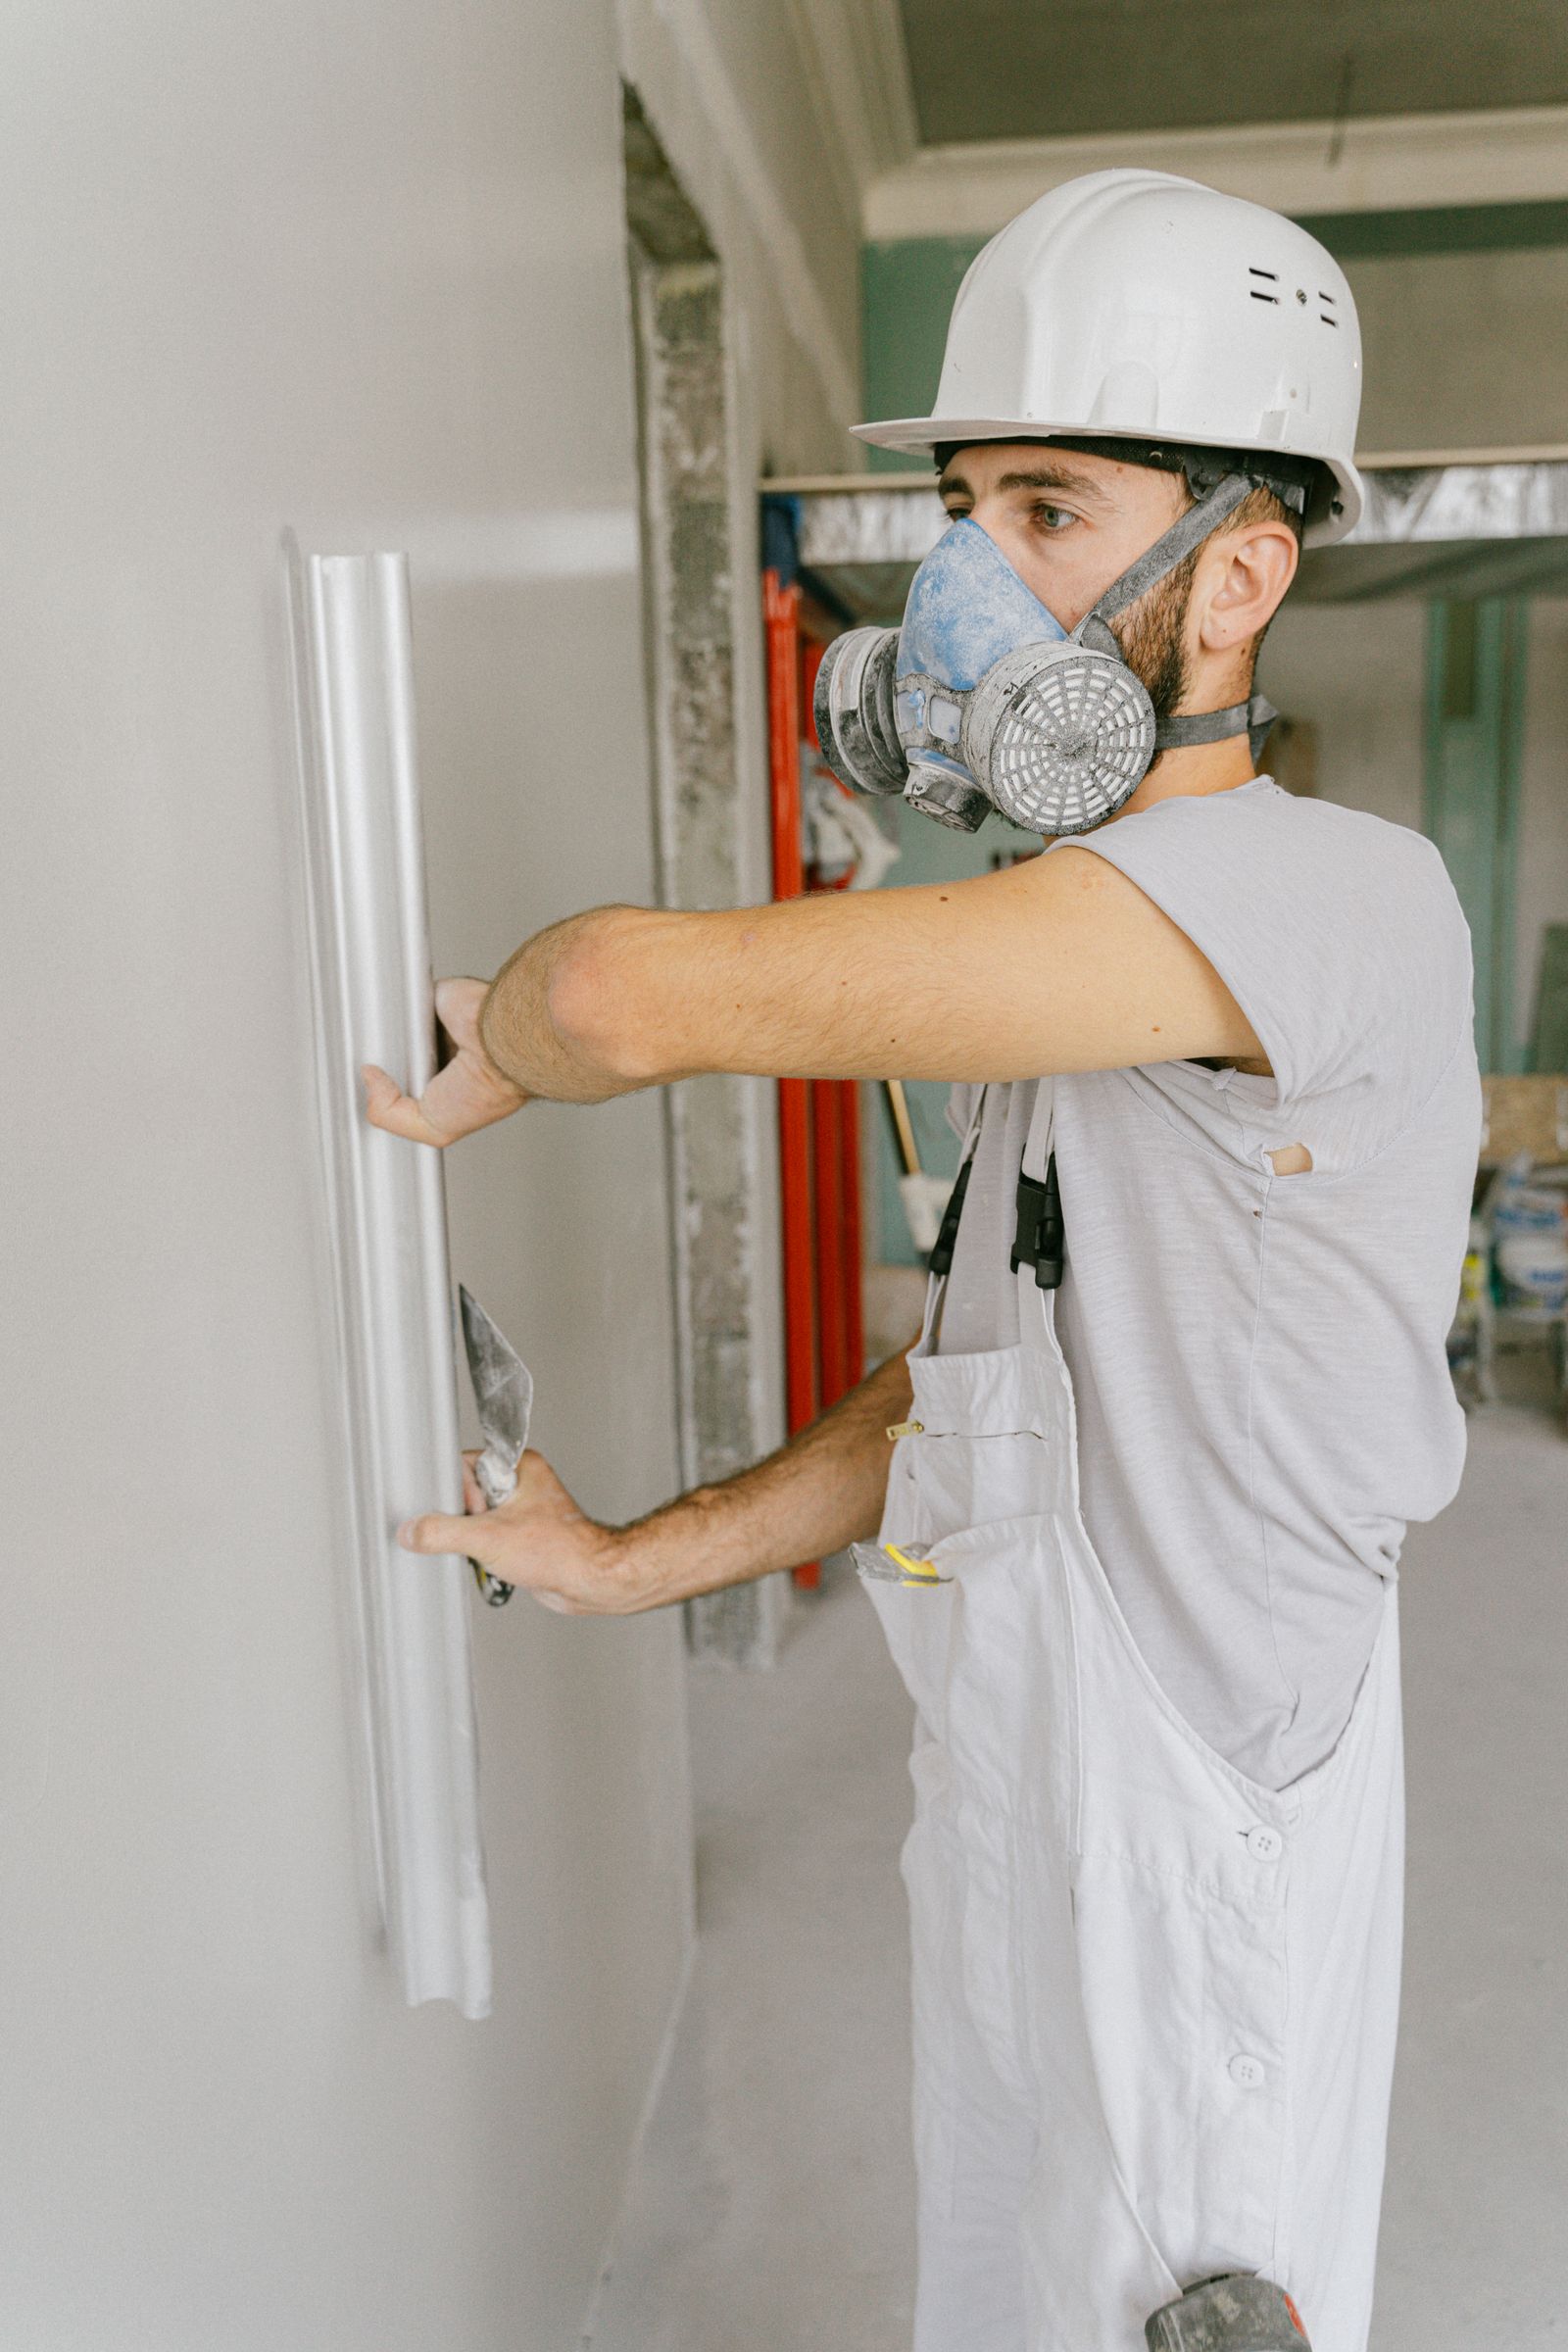
Paint will not hide an unprimed patch: bare compound absorbs paint differently, leaving a dull spot even under two coats. Seal it first with drywall primer, extending a few inches past the patch, and let it dry. Then paint with matching paint, feathering the edges so new paint blends into old. One coat may be enough on a small spot, but larger patches usually need two. For textured walls (orange peel, knockdown), match the texture first with spray texture from a hardware store, practicing on cardboard; a mismatched texture shows more than a small color difference. Paint fades over time, so an exact match is hard on older walls; painting the whole wall corner to corner fixes a touch-up that still shows.
Common Mistakes To Avoid
- One thick coat. Thick coats crack, shrink unevenly, and dry slowly. Thin coats, each dried fully, are faster.
- Sanding wet compound. It tears, clogs sandpaper, and leaves gouges. Wait for the uniform pale color.
- Skipping primer. Bare compound shows through paint as a dull patch. Prime every repair.
- Leaving torn paper. Loose paper bubbles under compound and paint; trim it back first.
- Feathering too narrowly. A patch feathered only an inch or two leaves a ridge; extend each coat further, often 10 to 12 inches wide on the final coat.
- Cutting blindly. You can hit wiring or plumbing; check first and turn off the circuit if unsure.
- Painting over dust. Dust weakens adhesion and shows as grit; wipe the area after sanding.
When To Call A Professional
Most patching is a fair DIY job, but some situations need a professional. Call one for an ongoing water leak, mold, drywall that feels soft and crumbly over a wide area, or a hole exposing wiring, plumbing, or framing. Ceiling repairs are harder — gravity works against wet compound overhead — so a large ceiling patch is often worth hiring out. The same goes for textured or plaster walls in older homes, and for any wall that may contain asbestos — possible in homes built before the 1980s — which must be tested before cutting or sanding.
Conclusion
Patching drywall is mostly patience: pick the method for the hole size, work in thin coats, let each dry fully, sand lightly, and always prime before painting. A nail hole takes under an hour; a large hole may take a weekend of short sessions with drying time between. Take your time feathering and sanding, and the repair will disappear as if the damage was never there.
Frequently Asked Questions
How Long Does Joint Compound Take To Dry?
About 24 hours per coat at normal room temperature and humidity; thin coats dry faster. Cold, damp, or poorly ventilated rooms extend drying time, so wait until the compound turns uniformly pale before sanding or recoating.
Can I Patch Drywall Without A Patch Kit?
Yes. Small holes need only spackle and a putty knife. For bigger holes, make a patch from scrap drywall and joint tape using the California or wood backing method above; a store-bought kit is convenient, not essential.
What Is The Difference Between Spackle And Joint Compound?
Spackle is a lightweight filler for small holes and dents; it dries fast and shrinks little in shallow fills. Joint compound (mud) tapes seams, covers patches, and builds smooth finishes over larger areas, needing longer drying time between coats.
Do I Need To Prime A Drywall Patch Before Painting?
Yes. Bare compound absorbs paint differently from the surrounding wall, leaving a dull spot called flashing. One coat of primer seals the patch for an even finish.
How Do I Match The Texture Of My Wall After Patching?
Smooth walls need only careful sanding; textured walls need texture reapplied first. Spray texture is sold at hardware stores — practice on cardboard, match the pattern, let it dry, then prime and paint. For heavily textured walls, a professional is the better choice.
Can I Patch Drywall In A Bathroom Or Other Damp Room?
Yes, but use moisture-resistant drywall (green board) and a mold-resistant primer, since standard drywall softens when damp. Fix any leak or ventilation problem first, or the damage will return.
