

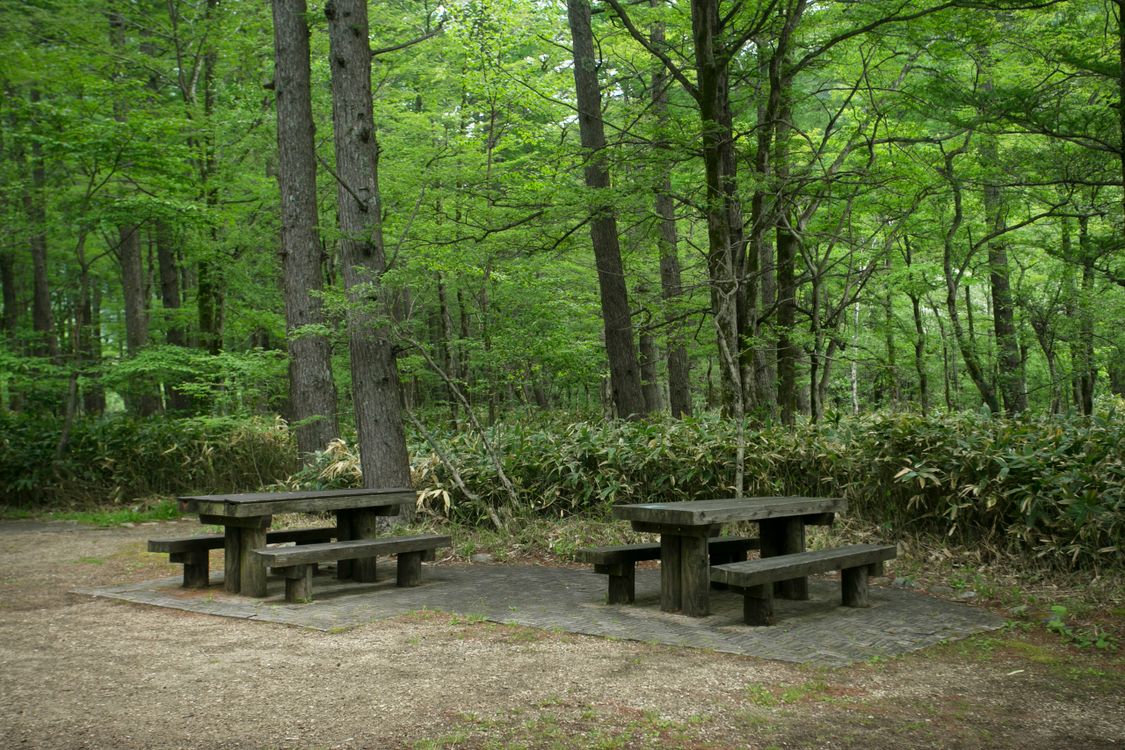
Building a picnic table is one of the most satisfying weekend projects for a home woodworker. With basic tools, a straightforward design, and a free afternoon or two, you can build a solid outdoor table that comfortably seats a family for meals, games, and long summer evenings. You do not need a fully equipped workshop or years of experience. What you do need is a sensible plan, careful measuring, and patience when cutting and assembling the legs and benches so the finished table sits level and feels stable.
A traditional picnic table has a simple, proven shape: a flat rectangular top, two benches attached to the sides, and angled legs that hold everything together. The wide base resists tipping, and the whole structure can be built from standard lumber at most home improvement stores. Before you start, decide where the table will live and how many people it should seat. A typical six-foot table seats six adults comfortably, and you need room to walk around the benches.
Materials You Will Need
The exact shopping list depends on the size you choose, but a typical six-foot picnic table uses standard dimensional lumber. The example dimensions below are typical for this style of table, not a guaranteed specification. Adjust them to your own plan and available lumber.
- Five or six boards for the tabletop, typically 2 by 6 lumber cut to about six feet long
- Four boards for the two bench seats, typically 2 by 6 lumber cut to about six feet long
- Four legs, typically 2 by 6 or 2 by 8 lumber, cut with angled ends so they splay outward for stability
- Two seat supports and two tabletop supports, typically 2 by 4 lumber
- One or two center braces underneath the tabletop to prevent sagging
- Exterior wood screws, typically 2.5 inch and 3.5 inch lengths, rated for outdoor use
- Carriage bolts with washers and nuts for the main leg and bench connections
- Exterior wood glue, optional but helpful for extra rigidity at joints
- Sandpaper in medium and fine grits
- Exterior stain, paint, or clear wood sealant, plus a brush or applicator
Pressure-treated lumber is a common choice because it resists rot and insects, but cedar and redwood are also popular for their natural weather resistance and lighter weight. Whichever wood you choose, look for straight boards with as few large knots and cracks as possible. Sight down each board before you buy it. If you use pressure-treated lumber, follow the manufacturer’s safety guidance, wear a dust mask when cutting and sanding, and never burn offcuts.
Tools You Will Need
- Tape measure and pencil
- Speed square or carpenter’s square
- Circular saw or miter saw for straight and angled cuts
- Drill and driver with drill bits and driver bits
- Socket wrench for carriage bolts
- Orbital sander or sanding block
- Saw horses or a sturdy workbench
- Clamps to hold pieces steady while you fasten them
- Safety glasses, hearing protection, and a dust mask
You do not need specialty joinery tools for this project. The strength of a picnic table comes from its overall shape, the thickness of the lumber, and bolts through the main joints, rather than from complicated joints.
Choosing Your Wood And Planning Your Cuts
Take time at the lumber yard and buy one spare board if your budget allows. A spare is useful if a cut goes wrong or a board splits. At home, stack the lumber flat and out of direct sun until you are ready to build, so it does not warp while waiting.
Before cutting, draw a simple sketch with your chosen dimensions and mark each piece on it. Many builders cut the legs first, because the angled leg cuts set the shape of the whole table. Angle the top and bottom of each leg so the legs splay outward toward the ground, giving a wider, more stable footprint. Cut one leg carefully, then use it as a template for the others so all four match.
Safety First
Woodworking rewards calm, steady work. Wear safety glasses whenever you cut, drill, or sand, and use hearing protection with power saws. Keep your hands clear of the blade path, and never reach across a running saw. Support long boards properly so they do not bind the blade. When drilling bolt holes, clamp the pieces together so they cannot shift. Work outdoors or in a well-ventilated area when applying stain or sealant. If children want to help, give them safe jobs such as sanding, and keep them away from saws and drills.
Step-By-Step Build
Step 1: Cut All Pieces To Length
Start by cutting the tabletop and bench boards to length, then the supports, braces, and legs. Keep your pieces organized in piles by type, and label them lightly in pencil. Double-check each measurement before you cut. It is far easier to measure twice now than to fix a short board later. If a cut is slightly rough, a pass with sandpaper will clean it up before assembly.
Step 2: Build The Two Leg Assemblies
Each end of the table gets one leg assembly. Lay two legs flat on the ground, spaced to match the width of your tabletop, and fasten a tabletop support across the top of the legs and a seat support lower down where the benches will sit. Use bolts for the main connections through the legs and supports, since bolts resist loosening better than screws alone under the repeated stress of people sitting and standing. Check that both assemblies are mirror images of each other and that the supports are level before moving on.
Step 3: Join The Leg Assemblies With The Tabletop Boards
Set the two leg assemblies upright, spaced to match your table length, and brace them temporarily so they do not fall over. Lay the tabletop boards across the top supports, leaving a small, even gap between boards so rainwater can drain and the wood can expand and contract. A gap about the width of a pencil is typical. Start with the two outside boards, square them to the supports, then fill in the middle boards, keeping the gaps consistent. Fasten each board with exterior screws, driving them straight so the heads sit just below the surface.
Step 4: Attach The Bench Seats
With the tabletop in place, the frame should already feel much more rigid. Lay the bench boards across the seat supports on each side, again leaving a small gap between the two boards on each bench for drainage. Center each bench on the table length, check that both benches sit at the same height, and fasten them with screws into the seat supports. Sit on each bench and check for flex. A little give is normal, but a bench that dips noticeably may need an extra support or a shorter span between leg assemblies.
Step 5: Add Braces And Check For Stability
Add a center brace underneath the tabletop if your design includes one, and check every bolt and screw. Set the table on flat ground and test it properly: press down on each corner, sit on each bench, and lean against the tabletop as you would during a meal. If it rocks, check whether one leg is longer than the others or whether the ground itself is uneven. Trimming a long leg slightly, or moving the table to flatter ground, usually solves the problem. Do not force a rocking table flat by tightening bolts unevenly, since that can stress the joints.
Step 6: Sand The Whole Table
Sand every surface that hands, arms, and legs will touch, including the tabletop, bench tops, and the edges of the supports. Start with a medium grit to remove rough spots and splinters, then finish with a fine grit for a smooth feel. Round over sharp edges slightly, especially on the bench seats and the ends of the tabletop boards. Brush away all dust before finishing, because dust trapped under stain or sealant will show in the final surface.
Finishing And Weatherproofing
An outdoor table needs protection from rain, sun, and seasonal changes. A penetrating exterior stain with a sealant, a clear exterior wood sealant, or exterior paint are all reasonable choices. Stain shows off the wood grain and is easy to refresh later, while paint gives a more uniform color and can hide differences between boards. Whichever finish you choose, use a product rated for exterior use and follow the manufacturer’s instructions for coats and drying times.
Apply the finish in thin, even coats, working with the grain and avoiding puddles in the gaps between boards. Coat the underside and leg ends as well, since those sit closest to damp ground. Allow each coat to dry fully before adding the next, and avoid finishing when rain is expected within the stated drying time. Two coats are typical, and refreshing the finish later is normal outdoor maintenance. For another approach to a picnic table build, see This Old House’s guide to building a picnic table.
Maintenance Through The Seasons
A picnic table built from good lumber and finished properly should give many years of service with modest care. At the start of each outdoor season, inspect the table for loose bolts, cracked boards, and areas where the finish has worn thin. Tighten bolts, sand any rough or splintered spots, and apply a fresh coat of sealant or stain when water no longer beads on the surface. Clean the table occasionally with mild soap and water, and rinse it well. Avoid pressure washing at close range, which can roughen the wood and force water into the grain.
During wet or snowy periods, keep the table out of standing water and clear leaves and debris from the tabletop and benches so moisture does not sit against the wood. A winter cover helps, but air must still circulate underneath it. If a board cracks or rots, replace that single board rather than discarding the whole table.
Conclusion
Building your own picnic table rewards the effort many times over. The table you build will host birthday parties, weeknight dinners, and quiet morning coffees, and the project teaches measuring, angled cuts, and assembling a strong, level structure. Take your time, choose straight lumber, fasten the main joints with bolts, and protect the finished wood from the weather. Follow those basics and you will end up with a table that looks good, feels solid, and lasts for years.
For other home DIY projects, see How to Fix a Squeaky Door and How to Fix a Leaky Faucet with Two Handles.
Frequently Asked Questions
How Long Does It Take To Build A Picnic Table?
For most beginners, cutting and assembly take a full day, with finishing spread over a second day for drying time. Give yourself a full weekend if this is your first woodworking project, so you are not rushing the measuring and leg cuts.
What Is The Best Wood For A Picnic Table?
Pressure-treated lumber, cedar, and redwood are all good choices. Pressure-treated lumber is widely available and affordable, while cedar and redwood resist weather and insects naturally and are lighter to move. Choose straight boards with few large knots.
Do I Need Bolts Or Are Screws Enough?
Screws are fine for attaching the tabletop and bench boards, but bolts are recommended for the main leg and support joints. Bolts hold up better under the repeated movement of people sitting, standing, and leaning, and they can be tightened later if a joint loosens over time.
How Do I Stop My Picnic Table From Rotting?
Use exterior-rated lumber, keep the table out of standing water, leave gaps between boards for drainage, and maintain the finish. Reapply sealant or stain when water stops beading on the surface, and replace any single board that shows rot rather than waiting for the damage to spread.
