

Painting furniture is one of the simplest ways to give a tired dresser, table, or chair a completely new life, and it costs far less than buying a replacement. The difference between a paint job that looks store-bought and one that chips within weeks is rarely talent. It is technique: choose the right paint, prepare the surface, apply thin coats, and seal the finish.
What Is The Best Paint For Painting Furniture?
There is no single best paint for every piece of furniture. The right choice depends on the material, the finish you want, and how much wear the piece will get. The main options are chalk paint, latex paint, milk paint, and oil-based paint.
Chalk Paint
Chalk paint is a water-based decorative paint with a thick, velvety matte finish. It sticks well to most surfaces with very little preparation, which makes it popular with beginners, and it is easy to distress with sandpaper for a vintage look. The trade-off is durability: it needs a protective topcoat, usually wax or a clear sealer, or it will mark and chip easily. Use it for decorative pieces.
Latex Paint
Latex paint is the most widely available and affordable option, sold in a huge range of colors and sheens, from flat to gloss. It cleans up with soap and water, and low-VOC or no-VOC formulas are widely available. Latex needs sanding and a primer to stick well, and it should be sealed with a topcoat to resist chipping. For a detailed comparison of the main paint types, see The Spruce’s guide to the best paint for furniture.
Milk Paint
Milk paint is one of the oldest types of paint. It is sold as a powder that you mix with water, and it creates a soft, slightly textured finish with an authentic, timeworn character. It bonds well to raw wood. On surfaces that already have a finish, it usually needs a bonding agent added to the mix so it adheres properly. Like chalk paint, milk paint must be sealed or it can flake and chip.
Oil-Based Paint And Alkyd Enamel
Oil-based paint, often sold today as alkyd enamel, dries into a hard, smooth, and very durable finish. It stands up to knocks, moisture, and daily handling better than most water-based paints. The downsides are real: it dries slowly, typically taking six to eight hours to feel dry to the touch and a full day before recoating, it has a strong smell, and brushes must be cleaned with mineral spirits rather than water. It is a strong choice for tabletops and kitchen chairs that take a beating.
How To Choose
Match the paint to the job. For a distressed or vintage look, choose chalk or milk paint. For a smooth, modern finish in any color, choose latex with a primer and a topcoat. For the hardest-wearing surface on a table or chair that gets daily use, choose an oil-based or alkyd enamel. If you are also choosing colors for the room around the piece, our guide to the best paint colors for a small bathroom shows how light and color change the feel of a small space, and the same thinking applies to furniture in a room.
Tools And Supplies You Will Need
Gather everything before you start, so you are not hunting for supplies with wet paint on your hands.
- Sandpaper in 120-grit, 150-grit, and 220-grit, plus a sanding block or an orbital sander
- Wood filler and a putty knife for dents, holes, and scratches
- A tack cloth or a slightly damp lint-free cloth for removing dust
- A good-quality primer, such as a shellac-based primer for laminate or a stain-blocking primer for dark wood
- Your chosen paint, plus a clear topcoat or wax for sealing
- A high-quality synthetic brush for water-based paint, or a natural-bristle brush for oil-based paint
- A small foam roller for large flat surfaces such as tabletops and drawer fronts
- Painter’s tape, drop cloths, a screwdriver for removing hardware, and gloves
- A dust mask or respirator, especially when sanding old finishes or spraying paint
How To Prepare Furniture For Painting
Preparation is the step most beginners rush, and it is the step that decides whether the paint stays on. A clean, lightly roughened, well-primed surface gives the paint something to grip. Skip the preparation and even expensive paint can peel.
Clean The Piece First
Remove drawers, doors, and hardware. Wipe the whole piece down with a damp cloth and a mild cleaner to remove dust, grease, and grime. Let the piece dry completely before moving on.
Make Repairs
Fill dents, chips, and old hardware holes with wood filler, using a putty knife to press it firmly into the damaged area. Let the filler dry fully, then sand it smooth. Tighten any loose joints or screws while you have the tools out. The same habit applies around the house: if a door hinge is loose, learning to fix a squeaky door takes only a few minutes and makes the whole room feel better maintained.
Sand The Surface
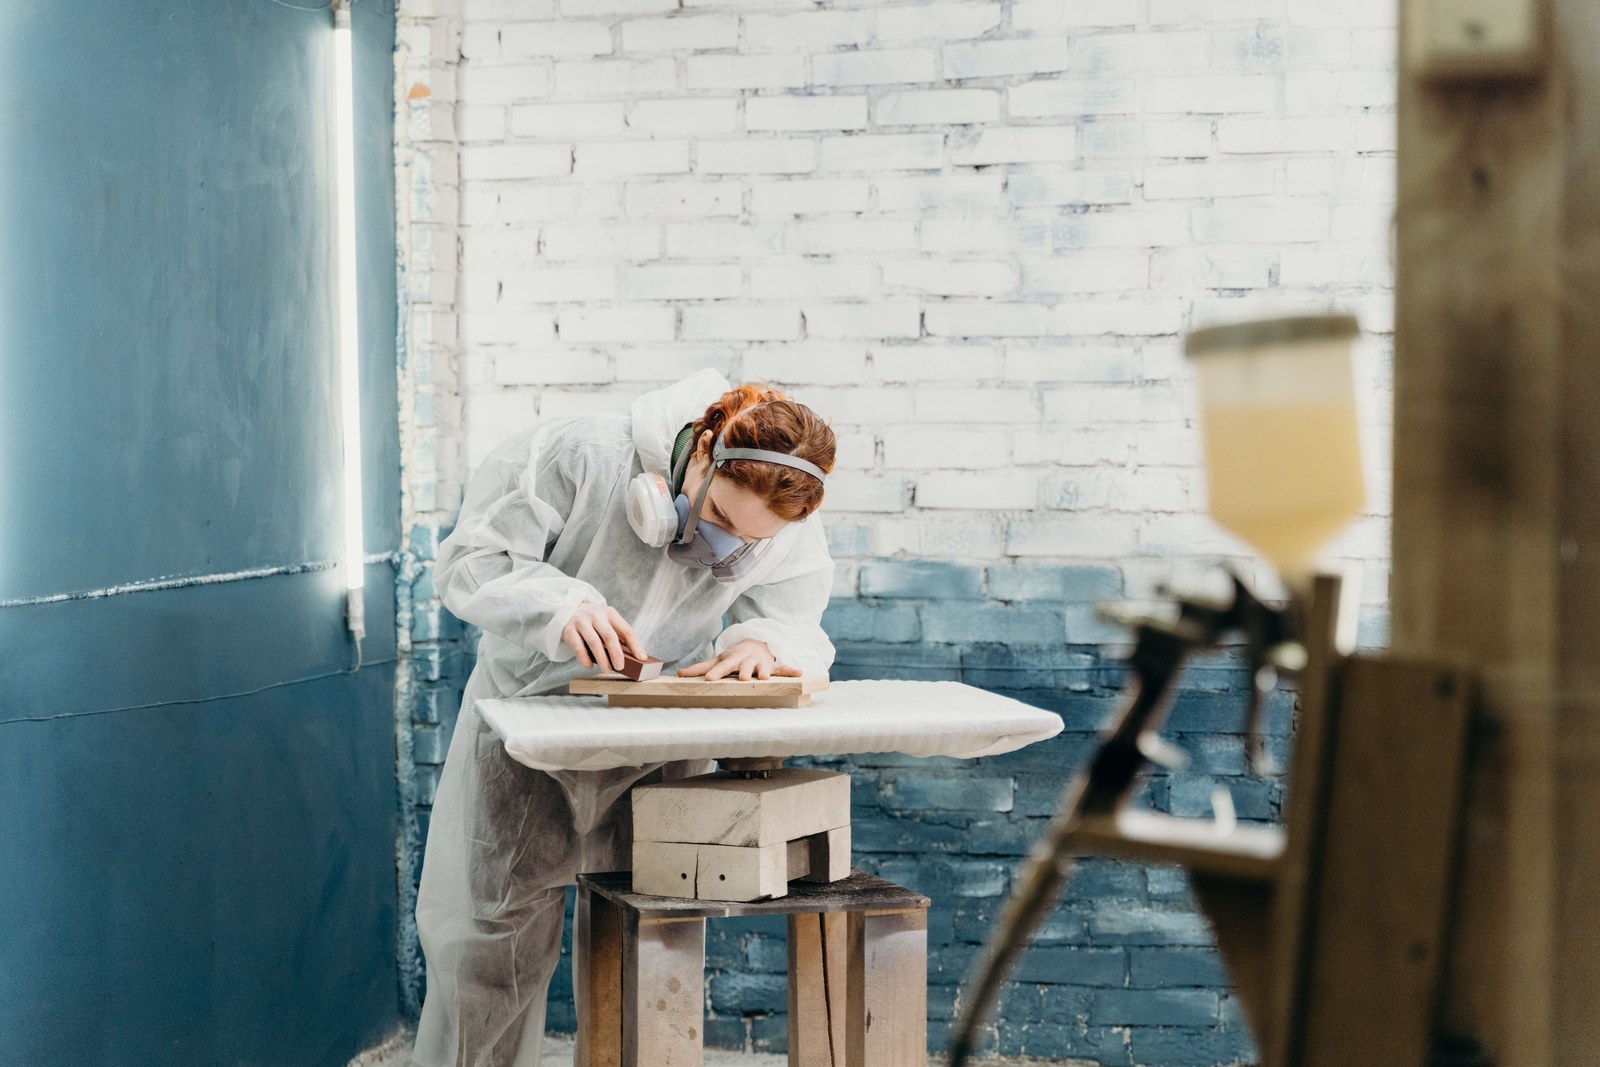
You usually do not need to strip furniture down to bare wood before painting. What you need is a surface the paint can grip. If the existing finish is glossy, scuff it with 120-grit or 150-grit sandpaper until the shine is gone. If you are removing an old finish completely, start with 80-grit and work up through 120-grit to 220-grit. After sanding, wipe the piece down with a tack cloth.
Prime When It Matters
Primer is not always necessary, but it makes a real difference in several common situations. Always prime raw or unfinished wood, laminate and other slick surfaces, and any piece you are painting white or a light color over dark wood. Use a shellac-based primer for laminate furniture and an oil-based primer to block dark wood tannins. For more detail on surface preparation, Woodsmith’s guide to painting wood furniture explains how filling, sealing, and priming each contribute to a smooth result.
How To Paint Furniture Step By Step
With the preparation done, the painting itself is straightforward. The golden rule is thin coats. Thick coats drip, take longer to dry, and are more likely to crack or peel later.
Stir the paint well and pour a small amount into a separate container rather than painting straight from the can. Load the brush lightly and apply the paint in long, even strokes, working in the direction of the grain. On large flat areas such as a tabletop or a drawer front, a small foam roller gives a smoother result than a brush. Do not go back over an area that has started to dry; that is what creates brush marks.
Let the first coat dry fully before judging it. The first coat almost always looks patchy, and that is normal. Once it is dry to the touch, lightly sand the whole surface with 220-grit sandpaper, wipe away the dust, and apply a second thin coat. Most pieces need two to three coats for full, even coverage. Sand lightly between each coat and wipe the dust off every time. Leave the final coat alone until it has dried fully.
Brush Vs Spray: Which Gives The Better Finish?
A brush is the practical choice for most home projects. It is cheap, easy to control, and works well on detailed pieces with carvings, spindles, and corners. Use a good-quality brush and thin coats to keep brush strokes to a minimum.
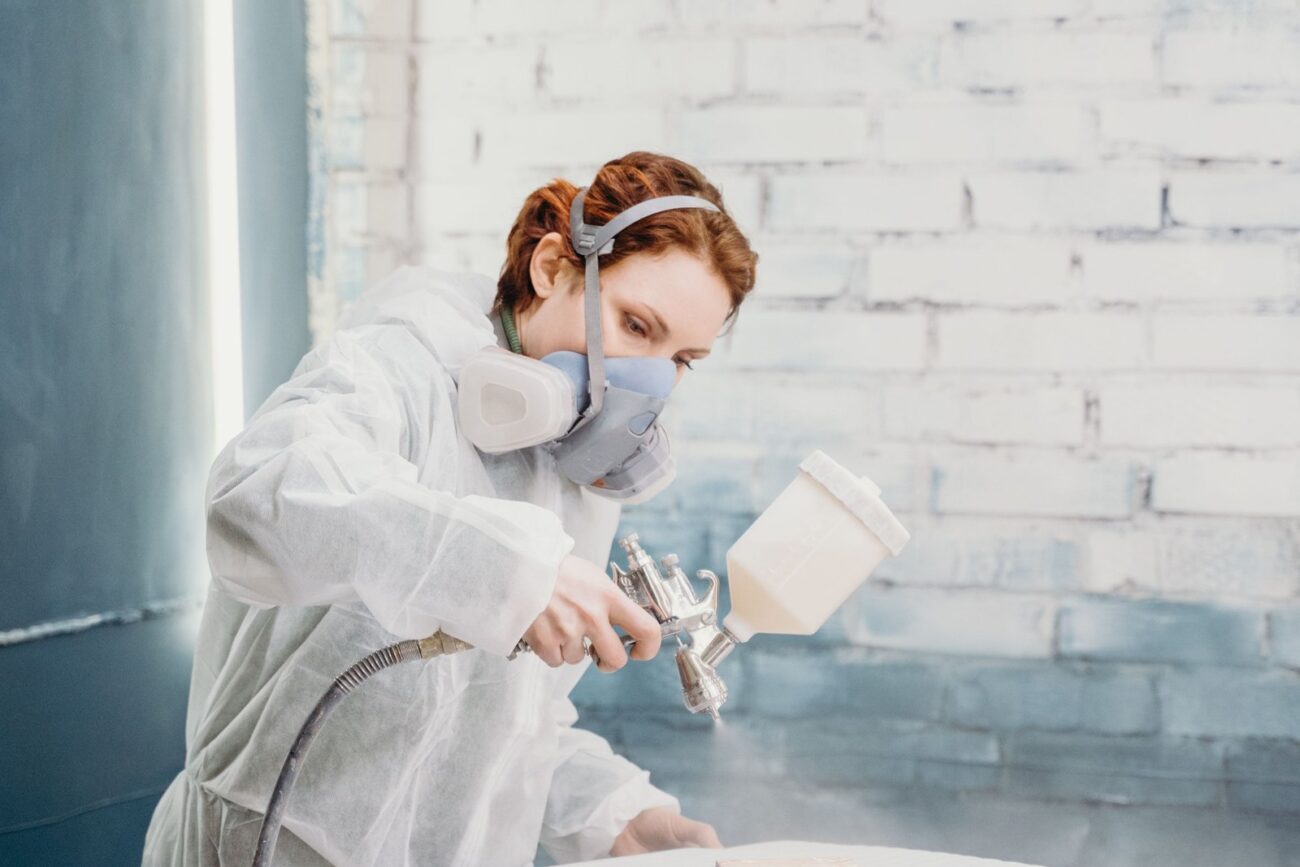
A sprayer, whether a handheld HVLP sprayer or a spray can, gives the smoothest, most even finish with no brush marks at all, and it is much faster on large or detailed pieces. The trade-offs are preparation and cleanup: you need to mask off everything nearby, work in a ventilated space, and wear a respirator and eye protection. For one dresser, a brush is simpler; for a set of chairs, a sprayer can be worth the setup. Whichever method you choose, keep the same discipline: thin coats, full drying time between coats, and a light sanding in between.
How To Seal Painted Furniture
Sealing protects your work from water rings, scratches, and everyday wear. Wait until the last coat has dried for at least 24 hours before sealing. Choose the sealer to match your paint. A water-based polycrylic topcoat is the usual choice over latex paint, because it dries clear and will not yellow over light colors. An oil-based polyurethane is tougher and suits tabletops, but it can add a slight amber tint, so it is better over darker colors. Chalk paint is traditionally sealed with furniture wax, rubbed on in a thin layer and buffed to a soft sheen.
Drying Vs Curing: When Can You Use The Furniture?
Dry and cured are not the same thing, and confusing them is one of the most common reasons a fresh paint job gets damaged. Dry means the surface no longer feels wet. Cured means the paint has fully hardened. Latex paint is usually dry to the touch within one to two hours and ready for another coat after two to four hours, but it can take two to four weeks to fully cure. Oil-based paint is slower: six to eight hours to the touch and 24 hours before recoating.
In practice, you can move a piece gently after 24 to 48 hours, but treat it carefully for the first few weeks. Avoid placing heavy objects on a freshly painted tabletop and do not slide items across the surface. Check the label on your paint, because times vary between brands and with temperature and humidity.
Common Mistakes When Painting Furniture
- Skipping the cleaning step, so grease and dust stop the paint from sticking
- Painting over a glossy finish without scuff-sanding it first
- Skipping primer on laminate, raw wood, or dark wood under light paint
- Applying thick coats that drip, sag, and take far too long to dry
- Going back over paint that has started to dry, which leaves brush marks
- Sealing too soon, before the final coat has dried properly
- Using the piece hard before the paint has cured, which dents and scuffs the soft finish
If a coat goes wrong, let it dry completely, sand the area smooth, wipe off the dust, and repaint it.
How To Care For Painted Furniture
A painted piece will last for years if you treat it gently at first and clean it sensibly afterwards. For the first month, avoid dragging heavy objects across painted surfaces and use coasters and placemats on tabletops. Clean painted furniture with a soft, damp cloth and a little mild soap, then dry it straight away. For outdoor pieces, check the sealer once a year and recoat it when water stops beading on the surface. If you enjoy outdoor projects, learning to build a picnic table is a good next step, and the same sealing routine will keep it looking good through the seasons.
Conclusion
Painting furniture well is a process, not a talent. Choose a paint that suits the piece and the finish you want, clean and sand the surface, prime where it matters, and build up thin coats with a light sanding in between. Seal the finished piece, then give the paint time to cure before putting it back into daily use.
Frequently Asked Questions
Do I Need To Sand Furniture Before Painting?
In most cases, yes, at least lightly. If the existing finish is glossy, scuff-sand it with 120-grit or 150-grit sandpaper so the new paint has something to grip. You only need to sand back to bare wood if the old finish is peeling or you are restaining. Chalk paint is the main exception, since it adheres well with minimal preparation, but even then a light sanding on glossy spots helps.
Can I Paint Furniture Without Primer?
Sometimes. Chalk paint and some dedicated furniture paints are designed to work without primer on clean, sound surfaces. For latex paint, primer is important on raw wood, laminate, and dark wood being painted a light color, because it improves adhesion and blocks stains and tannins from bleeding through. When in doubt, prime. It costs little time and prevents the most common failures.
How Many Coats Of Paint Does Furniture Need?
Most pieces need two to three thin coats for full, even coverage. The first coat often looks patchy, which is normal. Light colors over dark wood may need a third or fourth coat. Thin coats with a light sanding between them give a smoother and more durable result than one or two thick coats.
What Is The Best Finish For Painted Furniture?
For everyday indoor furniture, a satin or semi-gloss finish is the most practical choice, because it resists scuffs and wipes clean easily. Flat or matte finishes look soft and modern but show marks more readily, so they suit decorative pieces better. Whatever sheen you choose, add a clear topcoat on surfaces that get heavy use, such as tabletops.
Can I Use Wall Paint On Furniture?
You can, but it is not the best choice. Standard wall paint is formulated for walls, not for surfaces that get touched, moved, and knocked. It chips more easily and does not harden as well. If you do use it, prime first and seal it with a clear topcoat for durability. A dedicated furniture paint or a quality latex enamel will give a tougher finish.
