

To get rid of mold in a shower, scrub the tiles and grout with detergent and water, rinse, and dry the area completely. For stubborn stains on hard surfaces, a diluted bleach solution (no more than 1 cup of bleach per gallon of water) can help — but never mix bleach with ammonia or any other cleaner. Cleaning is only half the job: unless you also fix the moisture that let the mold grow, it will come back. If the mold covers more than about 10 square feet or sits behind a wall, call a professional.
Key Takeaways
- Mold grows where moisture stays. Cleaning without fixing ventilation or leaks only buys a few weeks.
- Scrub hard surfaces with detergent and water, then dry completely. That alone removes most shower mold.
- Never mix bleach with ammonia, vinegar, or other cleaners. The fumes are toxic.
- Caulk with black spots inside the sealant will not come clean — cut it out and re-caulk.
- Do not tackle mold yourself if it covers more than about 10 square feet, if the wall feels soft, or if anyone at home has asthma or a weakened immune system.
What Is Shower Mold And Why Does It Keep Coming Back?
Mold is a fungus that grows in damp places, and a shower suits it well: warm air, constant water, soap residue, and tiny cracks in grout and caulk where moisture lingers. The black or pinkish spots along grout lines are usually surface mold growing on soap scum.
The U.S. Environmental Protection Agency (EPA) puts it plainly: the key to mold control is moisture control. Mold spores are in the air almost everywhere, but they only grow when they find water, so scrubbing alone rarely solves the problem for long. The EPA’s guide to mold, moisture and your home explains this in detail.
The dark spots in a typical shower are usually common household molds, not the notorious “toxic black mold” of headlines. That does not mean they are harmless: mold can trigger allergies and irritate the airways, and the Centers for Disease Control and Prevention (CDC) notes that people with asthma, allergies, chronic lung disease, or weakened immune systems face a higher risk. Still, a small patch in a shower is normally a cleaning and moisture problem, not an emergency.
Before You Start: Safety First
Cleaning mold is safe for most healthy adults who protect their lungs, eyes, and skin. The EPA and the CDC both recommend gloves, goggles, and an N-95 respirator.
- Wear long gloves — rubber gloves for detergent and water, or nitrile or PVC gloves for bleach.
- Wear goggles without vent holes to keep splashes and spores out of your eyes.
- Wear a well-fitting N-95 respirator. A loose cloth mask does not count.
- Ventilate the room. Open a window, run the exhaust fan, and keep the door open. Never use bleach in a closed room.
- Keep children, pets, and anyone with asthma or a weakened immune system out of the room.
The most important rule is the never-mix rule: never mix chlorine bleach with ammonia (found in some glass cleaners), vinegar, or any other cleaning product — the combination can produce toxic fumes. Use one product at a time, rinsing with plain water before switching.
When Not To Clean Mold Yourself
Skip the DIY route if the mold covers more than about 10 square feet (roughly a 3-by-3-foot patch), if the wall or floor feels soft or spongy, if the mold keeps coming back in the same spot, or if there is a strong musty smell but no visible mold — any of these can mean growth inside the wall or a hidden leak. Also step back if anyone at home has a serious respiratory condition or a weakened immune system, and call a mold remediation professional first. Small problems that are ignored can turn into expensive repairs, and knowing which home maintenance problems start small but lead to expensive repairs is part of keeping a house in good shape.
How To Get Rid Of Mold In Shower: Step-By-Step
Step 1: Ventilate And Protect Yourself
Open the bathroom window if there is one, switch on the exhaust fan, and put on your gloves, goggles, and respirator. Remove the shower curtain, bath mat, and bottles so you can reach every surface. Gather your supplies: a grout brush, a non-scratch sponge, microfiber cloths, a spray bottle, mild dish detergent, white vinegar, baking soda, and bleach for stubborn stains only.
Step 2: Mist The Mold Lightly
Lightly mist the moldy areas with water so spores do not become airborne while you scrub. Do not use a dry brush on mold.
Step 3: Scrub Tiles And Grout With Detergent And Water
Mix a few drops of mild dish detergent in warm water, apply it to the tiles and grout, let it sit for 5 to 10 minutes, then scrub with a stiff grout brush along the grout lines. The EPA’s core advice is simple: scrub mold off hard surfaces with detergent and water, and dry completely. Physical removal matters because even dead mold can trigger allergies. Rinse with clean water and wipe with a fresh microfiber cloth.
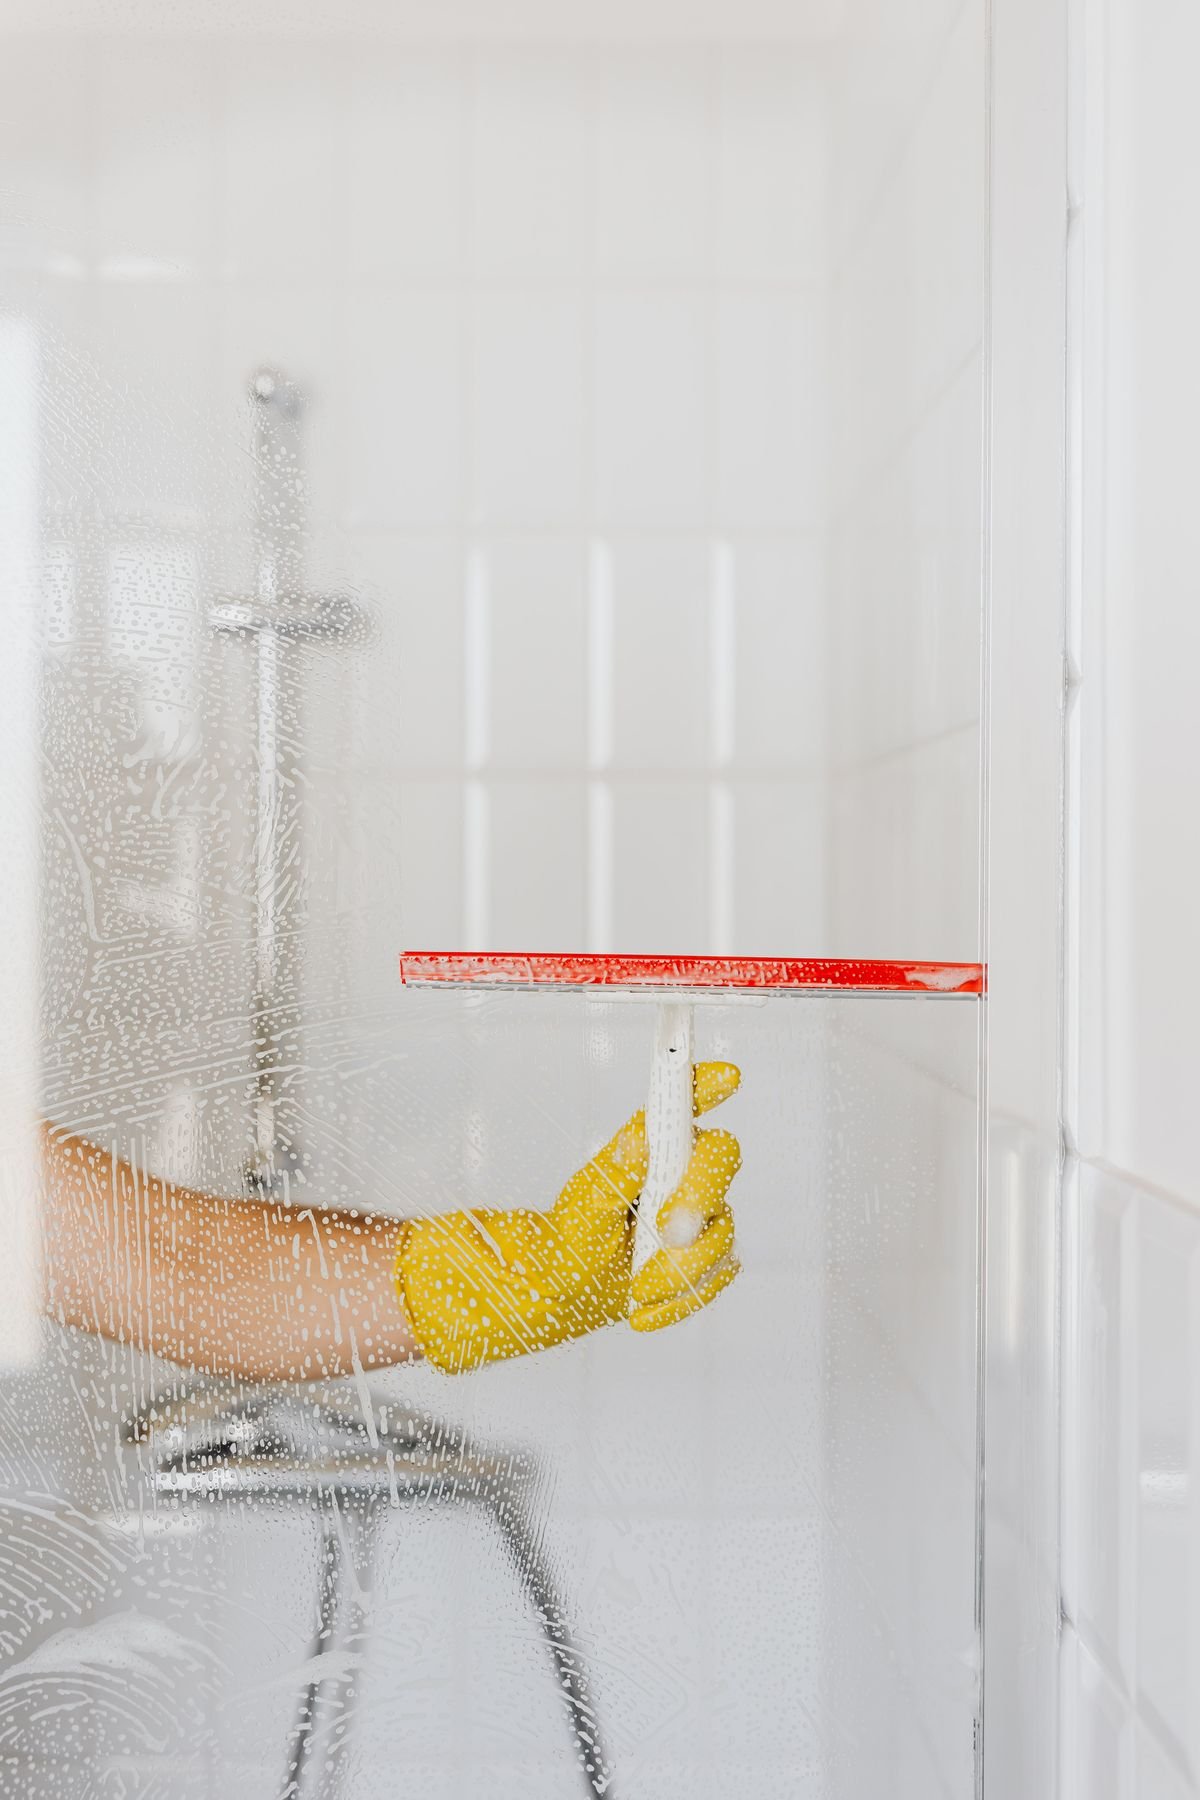
Photo by Kaboompics on Pexels
Step 4: Treat Stubborn Stains On Hard Surfaces
If dark stains remain after scrubbing, use a diluted bleach solution on hard, non-porous surfaces: no more than 1 cup of bleach per gallon of water, the ratio the CDC recommends. Apply it to the stain, wait about 5 minutes, scrub again, and rinse thoroughly. Keep the room ventilated and never mix the bleach with anything else. Bleach helps with the stain left in grout, but the EPA does not recommend biocides such as bleach as a routine part of mold cleanup — bleach lightens surface stains on tile and glass but does not reach mold inside porous grout. If the stain remains, the problem is inside the grout or caulk, not on top of it.
Step 5: Clean Glass Doors And Fixtures
Spray glass doors and chrome fixtures with the same detergent solution, wipe with a microfiber cloth, and finish with a squeegee. A paste of baking soda and water can help with hard-water marks on glass. Avoid abrasive pads, which can scratch glass and chrome.
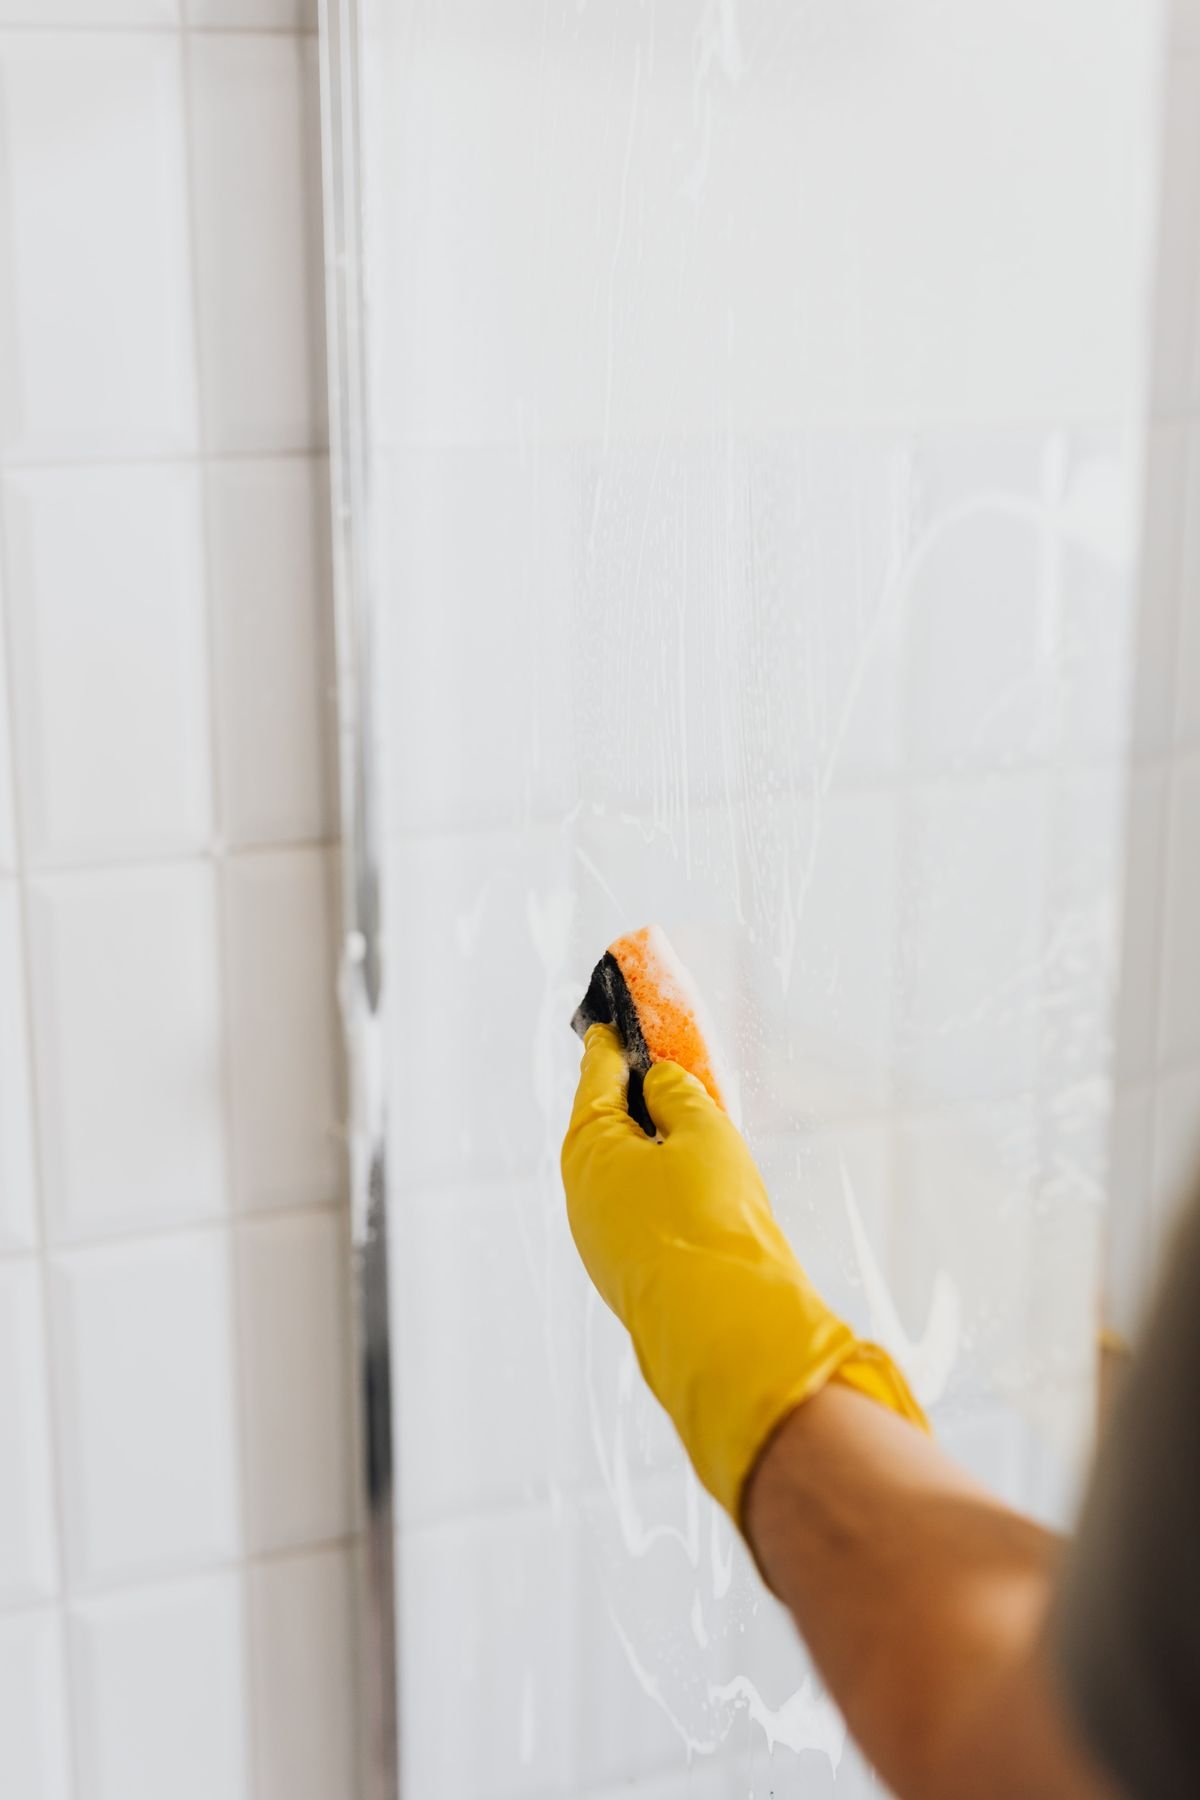
Photo by Kaboompics on Pexels
Step 6: Clean Or Replace The Shower Curtain
If the curtain or liner has mold spots, take it down and wash it — many plastic liners can be machine-washed on a gentle cycle with detergent and a little bleach if the care label allows it. If it is deeply stained or still slimy after washing, replace it. A new liner is cheap, and a moldy one keeps seeding spores into the shower.
Step 7: Dry Everything Completely
This is the step people skip, and it is the reason mold comes back. Wipe down the walls, floor, and fixtures with a dry towel or squeegee, then leave the fan running and the door open until the shower is fully dry. The EPA advises drying wet materials within 24 to 48 hours; in a shower the goal should be hours, not days.
Cleaning Solutions That Work — And What To Avoid
- Detergent and water: The first choice for most shower mold and the EPA’s recommended starting point. Safe on tiles, grout, glass, and fixtures.
- White vinegar: Useful for light mildew on hard surfaces. Spray it on, wait about 10 minutes, scrub, and rinse. Do not use it on natural stone such as marble, which it can etch. It is not an EPA-registered mold killer.
- Baking soda paste: Good for gentle scrubbing and soap scum: mix with a little water, apply, scrub, and rinse.
- Hydrogen peroxide (3%): A useful bleach alternative for grout stains: spray it on, wait about 10 minutes, scrub, and rinse. Do not mix it with vinegar or bleach.
- Diluted bleach: Only for stubborn stains on hard, non-porous surfaces such as glazed tile and glass, at no more than 1 cup per gallon of water. Never on porous materials such as unsealed grout, drywall, or wood — it whitens the stain without removing the growth.
- EPA-registered fungicide: A commercial mold remover with an EPA registration number, used exactly as the label directs.
What to avoid: never mix bleach with ammonia, vinegar, or any other cleaner, and never use bleach on natural stone. Never paint over mold or caulk over it — the EPA warns that paint applied over moldy surfaces is likely to peel, and sealing mold under caulk only hides it. Do not use a dry brush on moldy grout, which can push spores into the air.
Mold In Shower Caulk: Clean It Or Replace It?
Caulk is the silicone sealant where the tub meets the wall or the shower tray meets the tiles, and it is the hardest place to remove shower mold, because silicone is slightly porous and mold can grow inside the bead. Try cleaning first: scrub with detergent and water, then treat remaining stains with diluted bleach or hydrogen peroxide for 10 to 15 minutes.
Replace the caulk if black spots remain inside it after cleaning, if it is cracked, peeling, or pulling away, if it feels soft or crumbly, or if the mold returns within a few weeks. To replace it, cut out the old caulk, clean the joint, and let it dry fully before applying new silicone caulk — new caulk over damp or moldy surfaces will fail. Use a 100% silicone caulk made for bathrooms, smooth the bead, and let it cure for the full time on the label, usually 24 hours, before using the shower.
How To Keep Mold From Coming Back
- Run the exhaust fan during every shower and for at least 20 to 30 minutes after. It is the single most effective tool against shower mold. If your bathroom has no fan, open a window instead, and check that the fan vents outside.
- Squeegee the walls and glass after every shower. It takes under a minute and removes most of the water mold needs.
- Leave the shower door or curtain open after use so the surfaces dry.
- Keep indoor humidity below 50 percent. The CDC recommends this to discourage mold growth, and the EPA suggests 30 to 50 percent as ideal. A small hygrometer tells you whether your bathroom is staying too damp.
- Fix leaks promptly. A dripping showerhead or water seeping behind tiles keeps the area wet no matter how often you clean. Small leaks can also turn into expensive repairs, so fixing them early saves money.
- Seal grout once a year. Grout is porous; a sealer slows moisture absorption and makes cleaning easier. Apply it to clean, fully dry grout.
- Wash the shower curtain and bath mat regularly, and hang towels fully open so they dry between uses.
- Clean weekly. A quick scrub with detergent and water removes soap scum before mold can take hold. The EPA notes that in damp bathrooms, more frequent cleaning will usually prevent mold from recurring, or at least keep it to a minimum.
If you are refreshing the bathroom, the finish matters too: moisture-resistant paint and the best paint colors for a small bathroom with no windows can make a damp bathroom feel brighter.
The Bottom Line
Getting rid of mold in a shower comes down to three things: scrub it off hard surfaces with detergent and water, dry the area completely, and keep it dry with ventilation and a quick squeegee after every shower. Bleach has a narrow role for stubborn stains on tile and glass and must never be mixed with other cleaners. Caulk that stays black inside needs replacing, not more scrubbing. If the mold is large, hidden, or keeps coming back, call a professional.
Frequently Asked Questions
What is the fastest way to get rid of mold in a shower?
Scrub the moldy tiles and grout with detergent and warm water, rinse, and dry the area completely. For stubborn dark stains on glazed tile or glass, follow up with a diluted bleach solution of no more than 1 cup of bleach per gallon of water, left for about 5 minutes, then scrub and rinse. Ventilate the room and never mix bleach with other cleaners.
Does bleach kill mold in a shower?
On hard, non-porous surfaces such as glazed tile and glass, bleach can kill surface mold and remove stains. On porous materials such as unsealed grout, drywall, or wood, it mostly whitens the stain without reaching the growth underneath. The EPA does not recommend bleach as a routine part of mold cleanup, and it should never be mixed with ammonia or other cleaners.
How do I remove black mold from shower caulk?
First try scrubbing with detergent and water, then treat the stain with diluted bleach or hydrogen peroxide for 10 to 15 minutes. If black spots remain inside the caulk after cleaning, the mold has grown into the sealant and the caulk must be cut out and replaced with new 100% silicone bathroom caulk, applied to a clean, fully dry joint.
Is it safe to clean shower mold myself?
A small area on hard surfaces is safe for most healthy adults if you wear gloves, goggles, and an N-95 respirator, ventilate the room, and never mix cleaners. Do not clean it yourself if the mold covers more than about 10 square feet, if the wall feels soft, or if anyone in the home has asthma, a chronic lung condition, or a weakened immune system. In those cases, call a professional.
Why does mold keep coming back in my shower?
Mold returns when the shower stays damp between uses. The usual causes are poor ventilation, a fan that is not run long enough after showers, water left standing on tiles and glass, a leak, or unsealed grout that absorbs moisture. Run the exhaust fan during and for 20 to 30 minutes after every shower, squeegee the walls, and fix any leaks.
Can vinegar remove mold from a shower?
White vinegar can clean light mildew on hard surfaces: spray it on, wait about 10 minutes, scrub, and rinse. It is not an EPA-registered mold killer, so it should be treated as a cleaner rather than a disinfectant. Do not use vinegar on natural stone such as marble, and never mix vinegar with bleach.
How do I prevent mold in my shower?
Run the exhaust fan during and after every shower, squeegee the walls and glass after use, leave the shower door or curtain open to dry, keep indoor humidity below 50 percent, fix leaks promptly, seal grout once a year, and give the shower a quick weekly clean with detergent and water.
